Here is a free
pattern and tutorial. This is a fun project I made for a little girl who LOVES the TV series Timmy Time.
Materials Needed:
1/3 yard imitation sheep wool
1/3 yard black fleece
Tissue paper or coffee filters
2 white ping pong balls
Black and white thread
Polyester stuffing
Sharpie or electrical tape
Difficulty: 3/5
Cost: $$
Here are the
patterns. Make sure you print actual size; do not fit to page.
Cut out the following pieces:
Wool:
1 body, cut on fold
1 tail, cut on fold
1 bottom
Black fleece:
1 head, cut on fold
4 ears
2 legs
2 upper feet
2 bottom feet
13" x 9" square of black fleece for arms
2 nostrils
2 eyelids
Instructions:
To make arms:
Trace 2 copies of arm pattern onto tissue paper or coffee filters.
Fold a 13" x 9" piece of black fleece in half, right sides together. Pin tissue paper patterns on fleece.
Stitch on the lines of the tissue paper pattern. Back stitch at each end.
Tear away the tissue paper.
Cut out arms, leaving 1/4" seam allowance. Clip the corners and curves.
Turn right side out. Stuff arms.
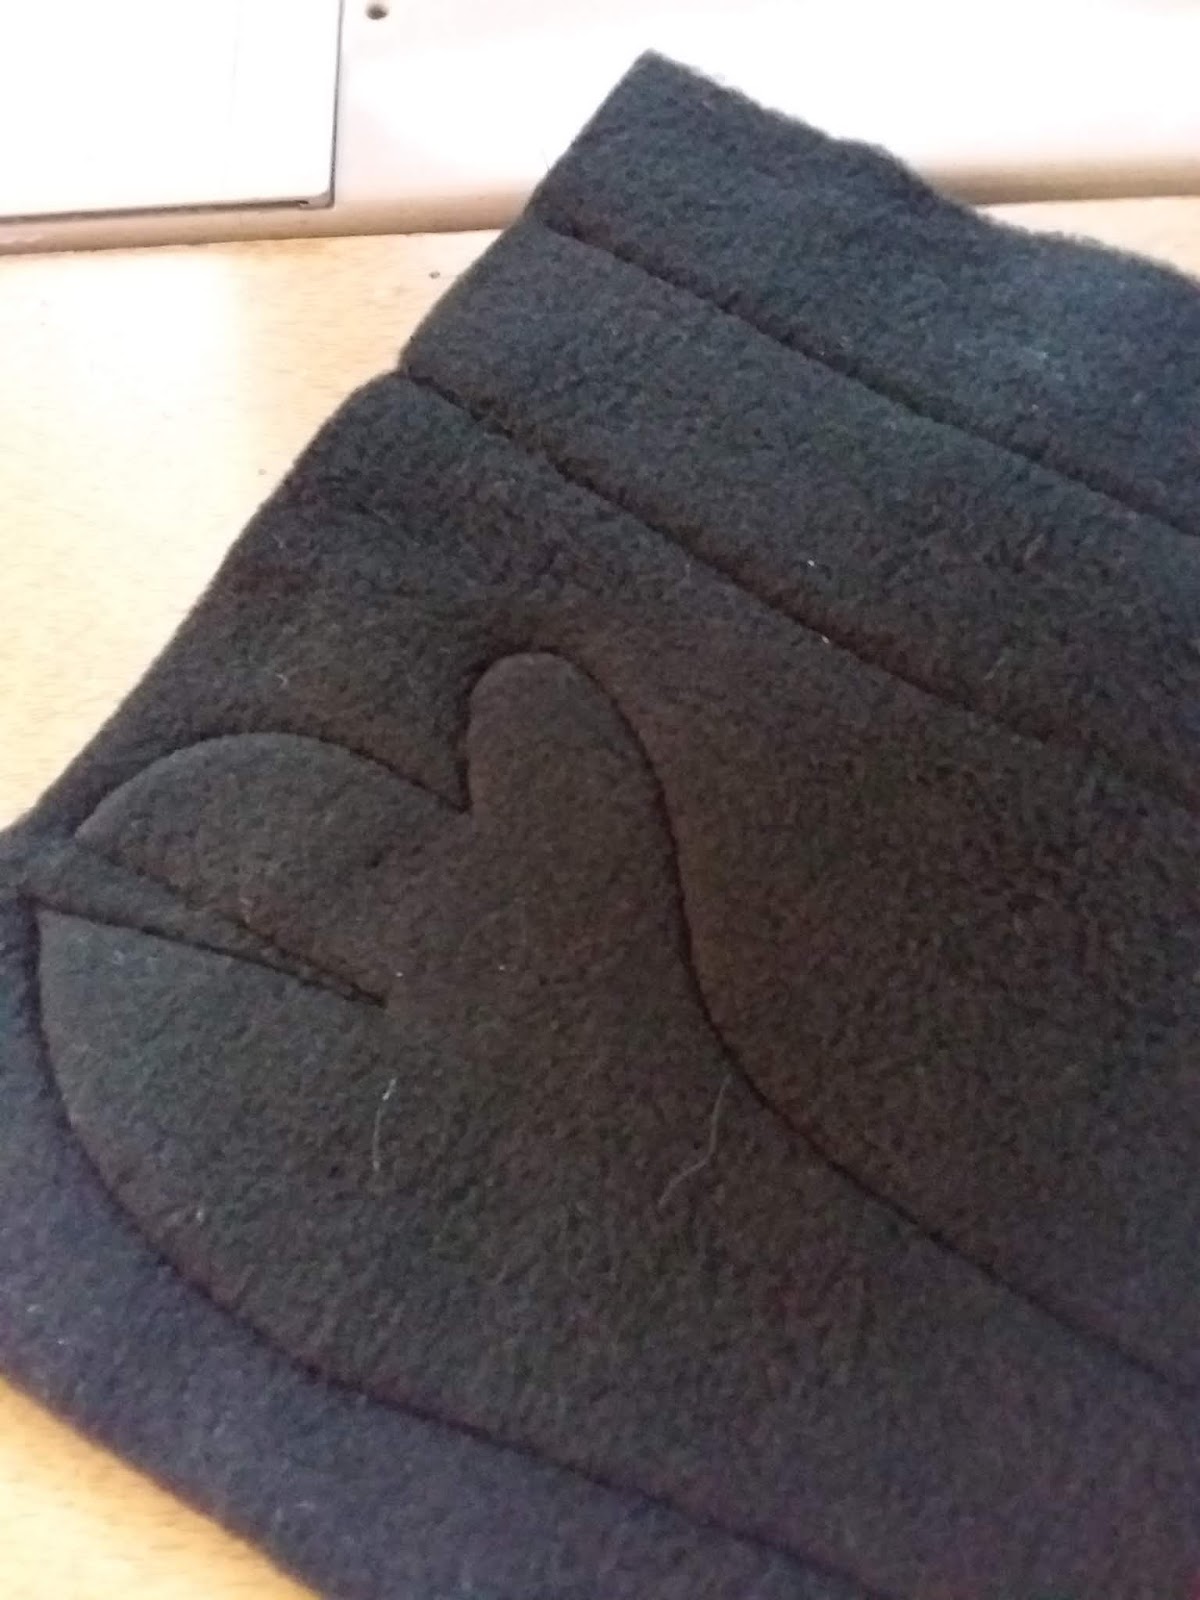
For each foot:
Fold upper foot right side together. Stitch along short side of foot.
Pin upper foot onto bottom of foot, right sides together.
Sew all the way around.
For each leg:
Fold leg right sides together along line marked on pattern. Stitch long side. Back stitch at each end.
Turn feet and legs right side out. Stuff.
Turn under raw edge of upper foot. Insert leg into opening on upper foot with the seam on the leg pointing toward the back and the seam on the foot pointing toward the front to make toes.
Hand stitch in place.
By hand, take a long stitch from top of toe seam to bottom. Pull tight to make indent for toes. Tie off securely.
Repeat for other leg.
For each ear:
Pin 2 ear pieces right sides together.
Stitch around ear, leaving end open for turning.
Turn.
Turn under raw edges of ear. Pinch to make a tuck in base of ear. Stitch.
They should look like this:
Head:
Fold right side together. Stitch curved sides.
Pinch in corners, centering seam.
Measure 1 1/2" down from point.
Draw a line across.
Stitch along line to make boxed corners.
Turn right side out.
Stuff head.
Turn in raw edges at top of head. Hand stitch closed with invisible stitches.
For each nostril:
Fold in half, right sides together. Stitch short side.
Turn right side out.
Roll into a donut shape. Hand stitch raw edges under.
Sew on nostrils. Tie off securely.
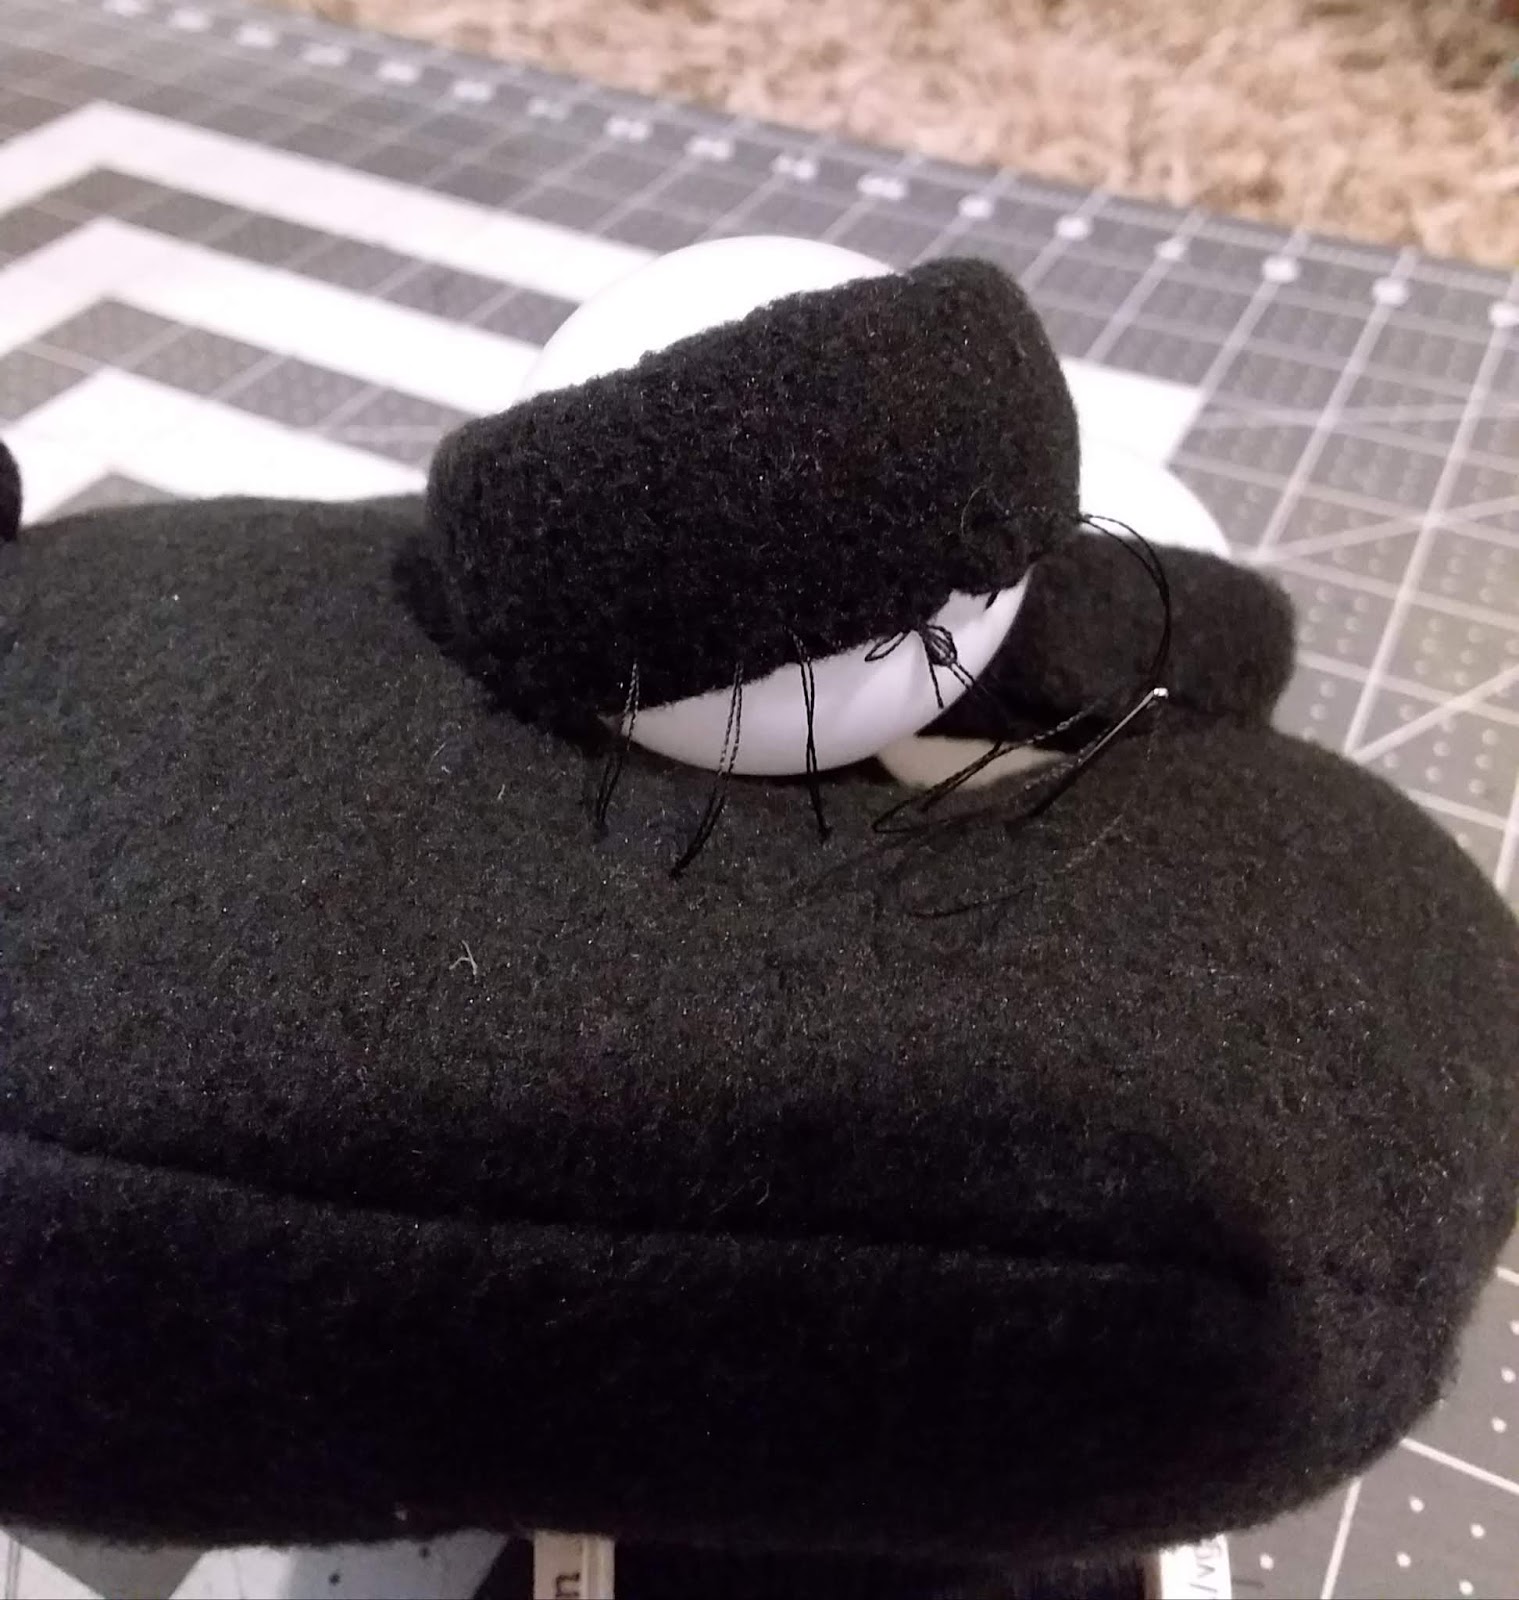
For each eye:
Fold eyelid in half, right sides together. Stitch short side. Turn right side out.
Fold in half, wrong sides together.
Make a running stitch around front of eyelid, just inside the fold.
Insert ping pong ball. Pull tight around ball and tie securely.
Using a hand needle, poke a hole in the ping pong ball. Stitch through eyelid and ping pong ball, securing eyelid to eyeball. Repeat three or four times around eye. Or use glue to secure eyelid to ball.
To make tail:
By hand, make a long running stitch around the edge of the tail.
Pull thread tight, gathering into a ball.
Stuff. Tie off securely.
To make body:
With right sides together, match A to A and B to B. Pin well. Stitch from A to B, following the stitching line marked on the pattern.
Match C to C and D to D. Pin well.
Stitch from C to D.
Repeat on other side.
It should look like this:
Match E to E and F to F. Stitch center back from E to F.
Position bottom on lower edge of body, matching HEARTs and STARs, right sides together. Pin well.
Stitch around bottom, leaving an opening for the tail and for turning.
Turn right side out. Stuff body.
Insert tail into opening. Hand stitch in place. Stitch opening closed.
It will look like this:
To assemble Timmy:
With a long needle, take a stitch all the way through head and pull tight to pull in where the eyes will be. Tie off securely.
Position eyes as desired. Stitch in place and tie off securely.
It will look like this:
Hand stitch ears securely in place.
Draw pupils on eyes or cut out pupils from black electrical tape.
Turn under raw edges of arms and legs. Position on body. Stitch in place.
And here he is!


